Having a YouTube channel for your School or your individual classes is a great idea. eLearning videos can be a very powerful tool, especially for students. They help to explain difficult topics through a visual representation. Videos also help to keep students engaged in the lesson. Students can then upload their own videos to show their understanding of the lesson. This could be done by demonstrating their latest science experiment, as an example. The other great thing about YouTube is, if used safely, there is a whole load of informative videos available for free.
So how do I set up a YouTube account?
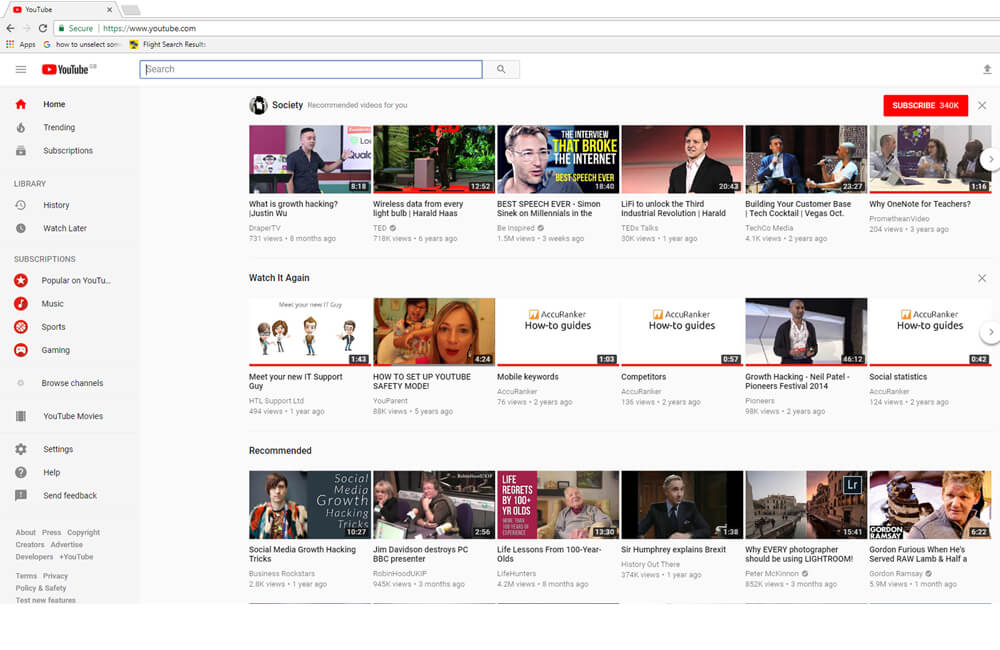
Firstly, you need to have a Google account if you do not have one already. It is best to create a new one for your class/school rather than use a personal one. If you do not yet have an account you just need to create an account here. Next thing you need to do is go to YouTube. If you have already signed into your Google account, when you visit YouTube you will automatically be signed in.
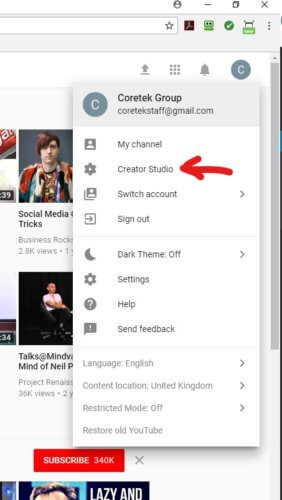
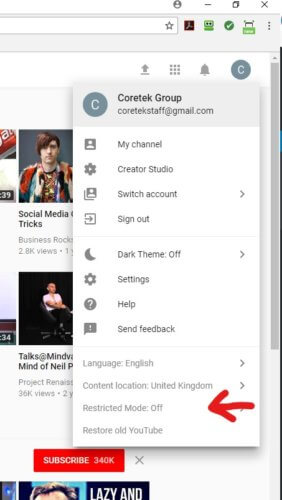
Next you should click on the user icon circle in the top right. Here you should select ‘Creator Studio’.
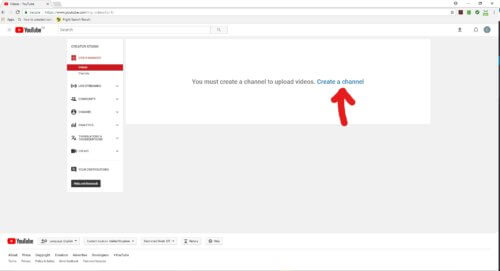
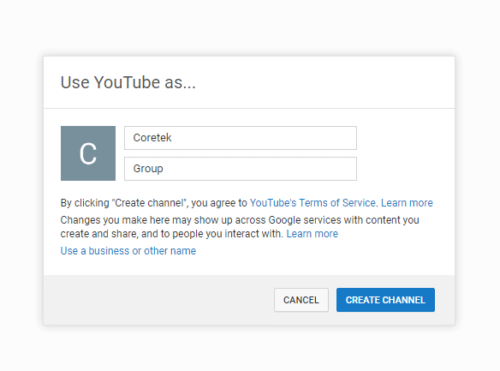
This will take you to a page that says ‘Create Channel’, you should click on this and follow the instructions through.
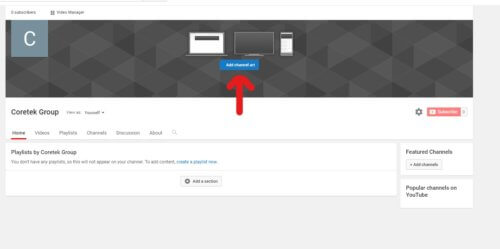
You will then see the below Creator Studio Dashboard. You need to click onto ‘View Channel’ which you will see just below the name of your channel.

You should then select ‘Edit Layout’.
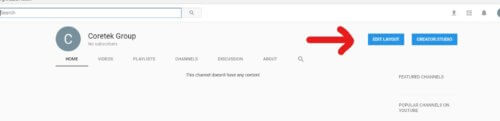
Then, you will see the below image. This is your channel which you can customise how you wish. We would advise branding it to your school with your logo and school colours as well as a description of your school/class.
At the top of the dashboard you will see ‘Video Channel’ and this will take you to a screen where you can upload a video by clicking the upload button in the top right corner next to the bell notification icon. This will upload a video you have previously made. Or you can select ‘create’ which is one of the option on the menu on the left of the screen. This will enable you to create a video straight into YouTube.
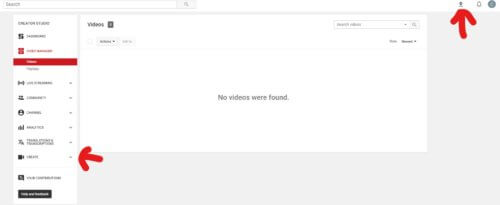
You will also have the option to make these videos Public, Private, Unlisted and Scheduled which gives you the power over who you want to be able to see these videos. You are also able to turn comments on and off. Once the video has uploaded, you can add a title, description and tags. Then select the ‘publish’ button and the video will go live.
How can I make YouTube safer for my students?
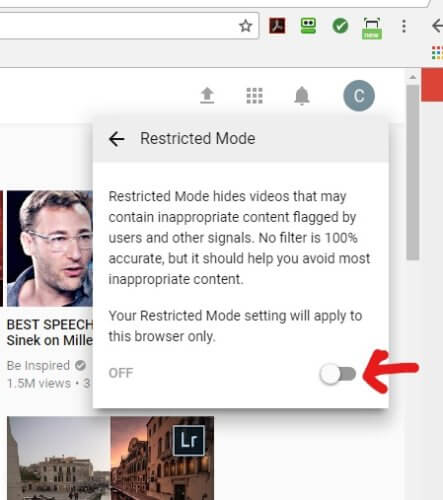
If your students are going to be accessing YouTube on their own in your classroom there are a few measures that you can take in order to make it safer for them. Restricted Mode is YouTube’s current parental control offering. It filters out content that has been flagged as bad or branded for adults by the creator. However YouTube has stated that this will not always be 100% effective at filtering out the bad stuff. To gain access you should log in to your google account, which you created in the previous step. Then visit YouTube.com and click on the icon in the top right corner. On this menu you will see the words ‘Restricted Mode: Off’. If you click on this you will see a toggle to enable Restricted Mode. You will be prompted to enter your password. This will lock the restricted mode to this browser only. So if you may be using other browsers then you may want to do this to each one.
If you have any other questions about the use of YouTube for education and its safety please feel free to get in contact with us at enquiries@coretek.co.uk or 0800 304 7444.